
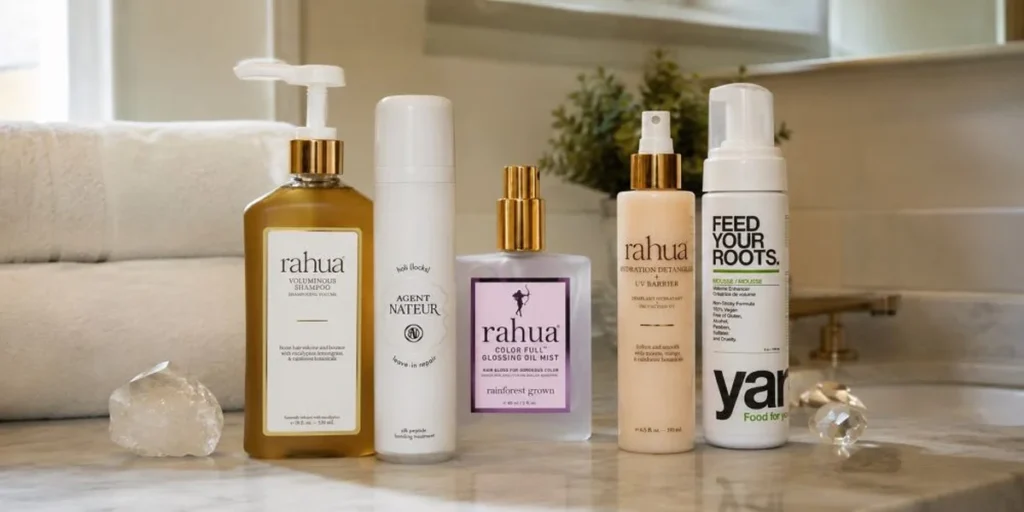
There is nothing like a good blowout. Your hair feels bouncy, shiny, and put together, and somehow you feel like your whole life is in order too — even when it isn’t.
I used to drive all the way to the salon for mine. Then I realized I was just impatient enough to start doing them at home. That way they turn out exactly how I like them, with only non-toxic products, of course.
It took me years to narrow down the right lineup. The good news: you need the right products in the right order, and a little audacity. Here is my simple, no-fuss routine for a flawless at-home blowout — the products I actually reach for every single time.
{{image:cover.webp}}
Step 1: Treat Overnight with Agent Holi Locks Bonding Treatment
Start the night before with the new Agent Holi Locks bonding treatment. It rebuilds the bonds inside your hair while you sleep, so you wake up working with stronger, healthier strands. This one does real repair work instead of just sitting on top of your hair like a lot of overnight treatments do.
Step 2: Wash with Rahua Voluminous Shampoo
In the morning, I wash with Rahua Voluminous Shampoo. It cleanses without stripping, so you keep your natural oils while still getting that light, full feeling at the root. Volume from step one makes every step after it easier.
{{image:image-01.webp}}
Step 3: Condition with Under Luna Revive Conditioner
Follow with Under Luna Revive Conditioner. It hydrates and smooths without weighing your hair down, so your ends feel soft but your roots stay light. Many conditioners get this balance wrong — moisture without the flatness is rare. I apply from my ears down.
{{image:image-02.jpg}}
Step 4: Detangle with Rahua Detangler and Tek Brushes
Before any heat, spray in the Rahua Detangler. It glides through knots gently so you are not ripping your hair and causing breakage.
Use the Tek Detangler Brush first to work through any remaining knots without snagging. The flexible bristles bend with your hair instead of fighting it.
{{image:image-03.webp}}
Once fully detangled, switch to the Tek Wooden Brush. The wooden pins are gentle on your scalp and help distribute your natural oils from root to tip — smoother, shinier hair before you even start styling.
Step 5: Protect with Rahua Heat Protectant
This is the non-negotiable step. I use Rahua Heat Protectant. Skipping it is how you end up with fried ends down the road.
Step 6: Add Volume Foam by Yarok
Yarok Volume Foam goes on before styling. It lifts your roots and gives your blowout that full, bouncy body without any stiffness or crunch. It builds volume from the inside out instead of just coating your hair in product.
{{image:image-04.webp}}
Step 7: Style with Bondi Boost Styler Curl Attachment
This is my favorite part. The Bondi Boost Styler curl attachment wraps and curls your hair with air rather than extreme heat, so you get that smooth, bouncy shape without frying your strands. It makes salon-level styling actually doable at home — even on a beginner skill level.
Step 8: Finish with Rahua Shine Oil
A few drops of Rahua Shine Oil seals your cuticle and adds that glassy, healthy shine. It is the difference between hair that looks done and hair that looks like you just left the salon.
{{image:image-05.webp}}
A Note from the Studio
I bought my first heat protectant because an ad told me I needed one. Spoiler: I still use it every single time, because skipping it really is how fried ends happen. Tested on my vanity, not on my ego.